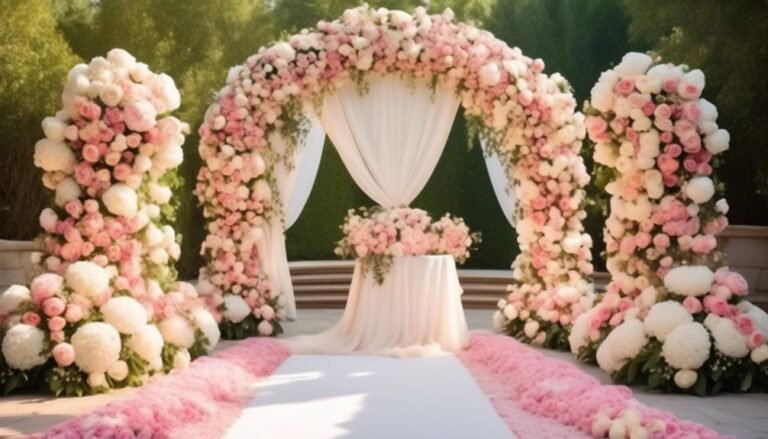
Step-by-Step Guide: Creating Vintage Floral Arches for Classic Weddings
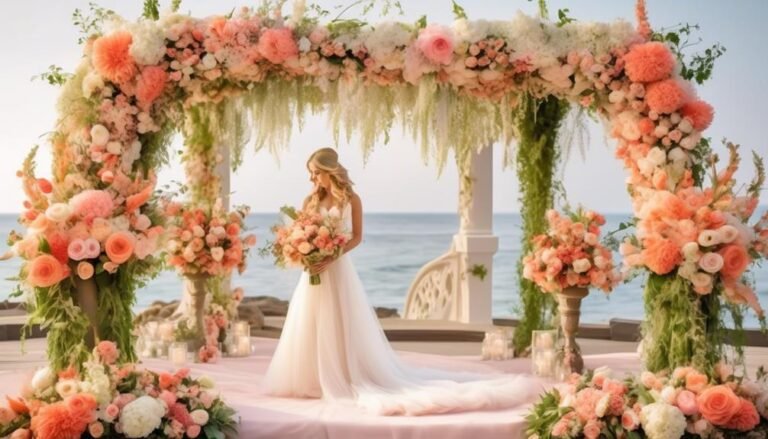
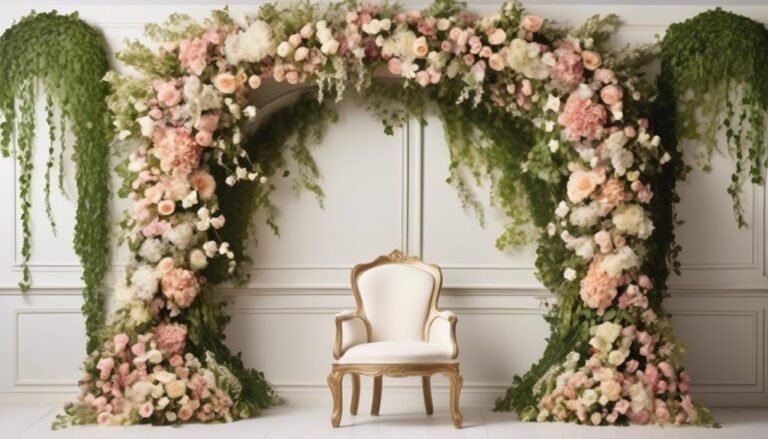
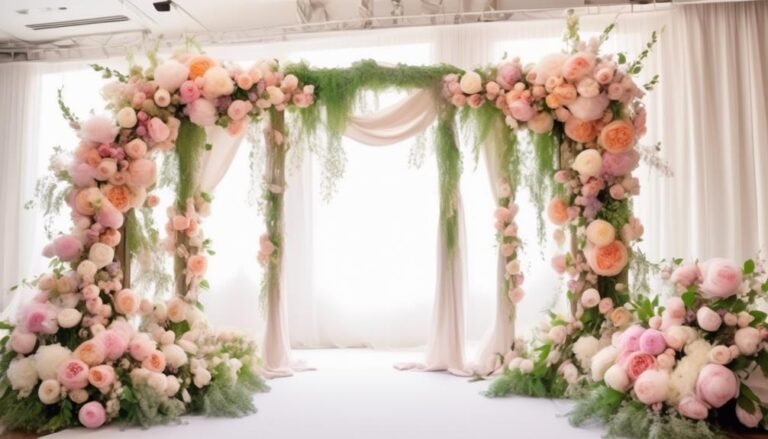
Are you dreaming of a classic wedding with a touch of vintage charm? One way to create that enchanting atmosphere is by incorporating a stunning floral arch into your decor. In this step-by-step guide, we will walk you through the process of creating your own vintage floral arch.
- Selecting the Perfect Flowers
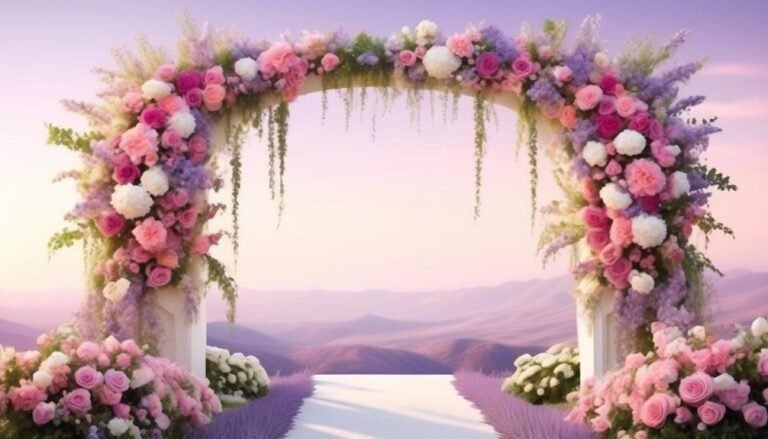
To achieve a vintage look, opt for flowers that are reminiscent of a bygone era. Classic blooms like roses, peonies, and hydrangeas work beautifully for this theme. Choose soft, muted colors such as blush pink, ivory, and lavender to enhance the vintage vibe.
- Planning the Arch Structure
Consider the space and scale of your wedding venue when deciding on the size and shape of your floral arch. A traditional arch shape with a curved top is a popular choice for a classic wedding. You can either rent or purchase a pre-made arch, or get creative and build your own using materials like wood or metal.
- Preparing the Flowers
Before you start arranging the flowers, make sure to trim the stems at an angle and remove any foliage that will be below the water line. This will help the blooms stay fresh for longer. Fill buckets with water and add flower preservative to keep the flowers hydrated.
- Creating the Base
Begin by attaching a sturdy base to your arch structure. This can be a piece of floral foam or chicken wire secured with zip ties or floral tape. The base will provide a stable foundation for your flowers.
- Arranging the Flowers
Start by placing your focal flowers in the center of the arch, working your way outwards. Use a mix of large and small blooms to create depth and dimension. Fill in any gaps with greenery or filler flowers like baby's breath. Consider adding trailing vines or delicate ribbons for a romantic touch.
- Securing the Flowers
Once you are satisfied with the arrangement, secure the stems to the base using floral wire or zip ties. Make sure the flowers are tightly attached to prevent them from shifting or falling during the event.
- Finishing Touches
To complete the vintage look, consider adding additional elements such as lace, pearls, or vintage brooches to the arch. These subtle details will enhance the overall aesthetic and tie everything together.
Creating a vintage floral arch for your classic wedding is a labor of love, but the end result is truly breathtaking. The combination of nostalgic blooms, elegant design, and meticulous attention to detail will transport you and your guests to a bygone era.
So go ahead, embrace the magic of yesteryear and create a truly unforgettable centerpiece for your special day.
Choosing the Right Flowers
Choosing the perfect flowers for your vintage floral arch is an important decision that can greatly enhance the overall look of your classic wedding. Here are some tips to help you make the right choices:
- Consider the color scheme and theme of your wedding:
- The flowers you choose should complement the overall color scheme and theme of your wedding.
- For a vintage look, you may want to consider soft, pastel colors like blush pink, lavender, and cream.
- Mix and match different types of flowers:
- To create a visually interesting and textured floral arch, it's best to mix and match different types of flowers.
- Consider using a combination of roses, peonies, hydrangeas, and baby's breath, among others.
- Opt for flowers that are in season:
- Choosing flowers that are in season ensures freshness and availability.
- It also helps to keep costs down.
- Some popular flowers that are often in season for vintage weddings include daisies, sunflowers, and dahlias.
- Consider the size and shape of your floral arch:
- The size and shape of your floral arch will determine the types of flowers you should choose.
- For example, if you have a triangle-shaped arch, you may want to select flowers that can be arranged in a cascading manner to complement the shape.
- Choose flowers that can withstand the duration of the event:
- It's important to select flowers that can withstand the duration of your wedding ceremony.
- Some flowers, like roses and peonies, are known for their durability and longevity.
- Avoid using delicate flowers that may wilt or droop quickly.
- Use floral foam as a base for arranging the flowers:
- If you're a DIY enthusiast, using floral foam as a base for arranging the flowers can be helpful.
- This will help keep the flowers hydrated and ensure they stay fresh throughout the wedding ceremony.
Creating the Arch Base
To create a stable base for your vintage floral arch, you'll need to cover the arch pillar with flower muds, also known as floral foam or oasis. Flower muds provide a sturdy and moist foundation for your flowers to thrive.
Here's a step-by-step guide on how to create the perfect arch base for your classic wedding:
- Insert greenery leaves into the flower muds: Start by inserting fresh greenery leaves into the flower muds. This will create a lush and natural-looking base for your floral arch. Make sure to cover the entire surface of the arch pillar to create a beautiful backdrop.
- Conceal exposed floral mud or wire with leftover leaves: If you notice any exposed floral mud or wire, don't worry! Simply take some leftover leaves and strategically place them to conceal any imperfections. This will give your arch base a polished and professional finish.
- Insert flowers into the gaps: Now it's time to add the star of the show – the flowers! Insert your chosen flowers into the gaps between the greenery leaves. Get creative and mix different types and colors of flowers to create a unique and stunning design. Remember to vary the heights and textures of the flowers for a more visually appealing arrangement.
Adding Greenery and Foliage
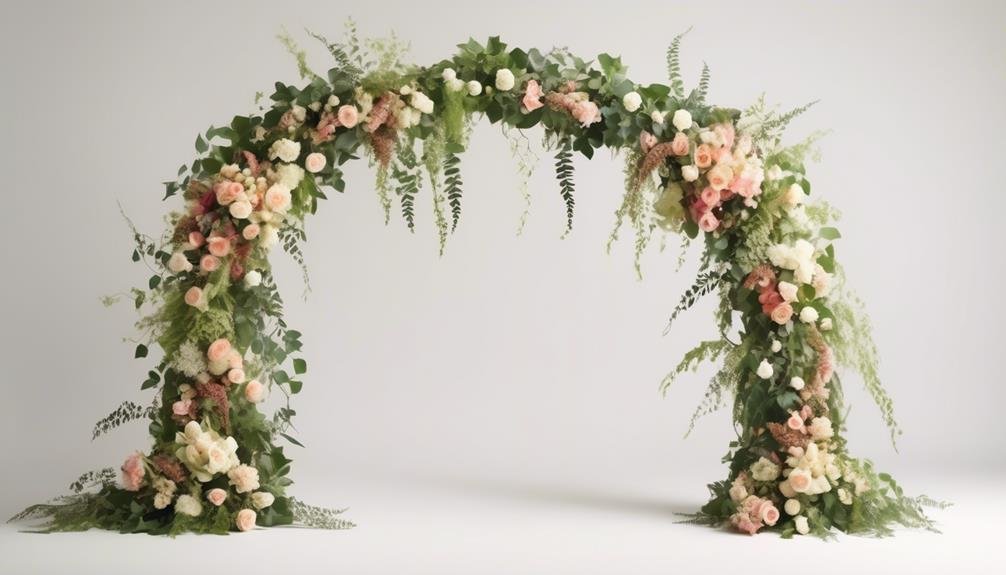
Adding greenery and foliage is a crucial step in completing your vintage floral arch and creating a stunning wedding backdrop. To begin, attach the greenery pieces into the floral foam that serves as the foundation of your arch. This will provide stability and a canvas for your floral arrangements.
When selecting greenery, it's important to use multiple types for depth and variety. Start inserting the greenery from the bottom, allowing it to cascade and create a full, lush look. This will give your vintage floral arch a sense of dimension and a natural, organic feel. Collaborating with a florist or wedding designer can provide valuable guidance in creating a cohesive and visually appealing arrangement.
Remember to focus on creating a thicker base for stability and a tapered look. This will ensure that your arch stands tall and remains sturdy throughout the ceremony.
Arranging the Vintage-Inspired Blooms
Arranging vintage-inspired blooms on your wedding floral arch is an important step in creating a stunning backdrop for your special day. Follow these step-by-step instructions to ensure a beautiful and cohesive display:
- Create a sturdy base: Start by using flower muds to create a thick base for your arch. This will provide stability and give your arch a tapered look. It's essential to have a solid foundation to ensure that your blooms stay in place throughout the ceremony.
- Add depth with greenery: Use a variety of greenery to add depth and texture to your floral arch. Begin inserting the greenery from the bottom and gradually make it fuller as you work your way up. This will create a sense of depth and make your arch look lush and abundant.
- Conceal any exposed elements: Use leftover leaves to hide any exposed floral mud or wire. Simply tuck them in between the blooms to create a seamless and polished finish. This will ensure that your floral arch looks cohesive and professional.
Final Touches and Finishing the Arch

To complete the vintage floral arch, you can add a touch of natural beauty by adjusting the stems to face flowers at different angles. This will give the arch a more organic and realistic look. Step back and admire the beautiful backdrop you've created for your wedding. The arch flowers are now perfectly arranged, creating a stunning focal point for your special day.
To enhance the overall aesthetic, consider attaching additional floral elements to the arch. You can insert flowers into the exposed floral wire mesh, securely fastening them. This will add depth and dimension to the arch, making it even more visually appealing.
Adding some finishing touches is also important. Tie ribbons or bows in coordinating colors around the base of the arch. This will provide a polished look and contribute to the vintage vibe you're going for. The ribbons can flutter gently in the breeze, adding a touch of whimsy to your ceremony.
It's worth mentioning the versatility of the floral arch. After your wedding, you can easily transport the two sides of the arch and repurpose the lifelike flowers and greenery for home decor or other events. This allows you to continue enjoying the beauty and elegance of the arch long after your wedding day.

