Expert Advice: DIY Flower Crown Tips for Weddings
Are you looking to create a stunning flower crown for your wedding? Look no further! In this article, we will provide you with expert advice and step-by-step instructions to help you craft your own DIY flower crown. Follow these tips and tricks to create a beautiful accessory that will add a touch of whimsy and elegance to your special day.
- Choose the right flowers:
When selecting flowers for your crown, consider the color scheme and theme of your wedding. Opt for flowers that complement your bridal bouquet and overall wedding decor. Popular choices include roses, peonies, baby's breath, and daisies. Don't forget to consider the seasonality of the flowers to ensure their availability.
- Gather the necessary supplies:
To create your flower crown, you'll need a few key supplies. These include floral wire, floral tape, wire cutters, and ribbon or floral wire for securing the crown. You can find these items at your local craft store or online.
- Prepare the flowers:
Before you start assembling your crown, prepare the flowers by trimming their stems to a suitable length. Remove any excess leaves or thorns that may interfere with the crown's structure. It's also a good idea to place the flowers in water to keep them fresh.
- Build the base:
Start by creating a base for your flower crown using floral wire. Measure the wire around your head, leaving a little extra for adjustment. Shape the wire into a circle and secure the ends together. You can also use a pre-made crown base if you prefer.
- Attach the flowers:
Using floral tape, attach the prepared flowers to the crown base. Start with the larger flowers as focal points and fill in the gaps with smaller blooms and greenery. Secure each stem with floral tape, making sure they are tightly attached to the base.
- Add finishing touches:
To hide any exposed wire or tape, wrap ribbon or floral wire around the crown. This will add a polished and finished look to your flower crown. You can also incorporate additional elements such as pearls, beads, or feathers for extra flair.
- Secure the crown:
Once you are satisfied with the arrangement, try on the flower crown to ensure a comfortable fit. Use ribbon or floral wire to secure the crown in place, tying it under your hair or behind your head. Make any necessary adjustments to ensure the crown stays in place throughout the day.
Creating your own DIY flower crown for your wedding is a fun and creative way to personalize your bridal look. By following these tips and tricks, you'll be able to craft a stunning accessory that will leave everyone in awe. So, get ready to elevate your wedding style and enjoy the process of making your own flower crown.
Choosing the Right Flowers
Choosing the right flowers for your DIY flower crown is an important decision when planning your wedding. There are a few key factors to consider to ensure that your floral crown matches your overall wedding aesthetic and holds up throughout the day.
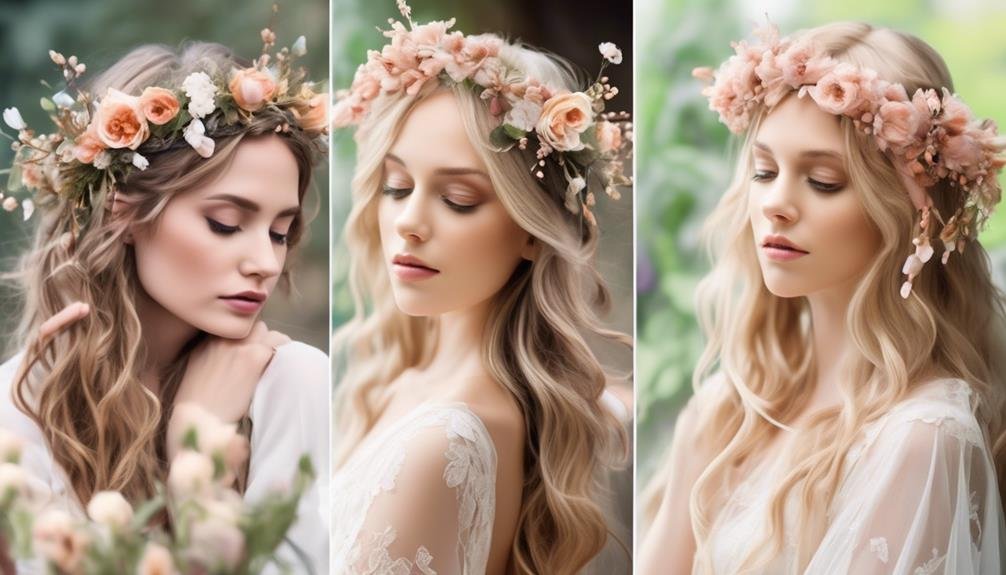
First and foremost, consider your wedding theme and color scheme. You want your flower crown to complement the overall look and feel of your wedding. If you have a romantic and whimsical theme, opt for delicate and soft blooms like roses or peonies. For a bohemian or rustic wedding, wildflowers and daisies can be a great choice. By incorporating flowers that reflect the essence of your theme, you'll create a cohesive and visually stunning look.
Durability is also a crucial factor to consider. Your flower crown needs to withstand the entire wedding day without wilting or losing its shape. Choose flowers that hold up well without water and are comfortable to wear for an extended period. Popular choices for their longevity include carnations, baby's breath, and succulents. To ensure the longevity of your flower crown, use floral tape and florist wire to secure the flowers and greenery in place. This will provide stability and prevent any mishaps during the event.
To add visual interest and depth to your flower crown, consider mixing and matching different flower sizes and textures. Combining larger focal flowers with smaller blooms and incorporating varying textures like berries, eucalyptus, or ferns can create a stunning and unique floral arrangement.
Lastly, don't forget to choose flowers that hold personal significance or carry sentimental value. Including flowers that have special meaning to you or your partner will add a personal touch to your DIY flower crown and make it even more meaningful on your wedding day.
Preparing the Flower Stems
Preparing Flower Stems for Your DIY Flower Crown
When preparing the flower stems for your DIY flower crown, there are a few important steps to ensure the longevity and stability of your creation.
- Trim the stems: Start by trimming the flowers, leaving about three inches of stem for wiring. This will give you enough length to work with while keeping the crown lightweight and comfortable to wear.
- Remove leaves: Strip the stems of any leaves below the blooms. This reduces bulk and prevents the leaves from wilting and detracting from the crown's overall beauty.
- Layer short-stemmed flowers: If you're working with short-stemmed flowers, layer several together and wire each stem for added support. This will help keep the flowers in place and prevent them from drooping or falling off. Use floral tape to wrap the stems together, starting with a sturdy base like wax flower stems.
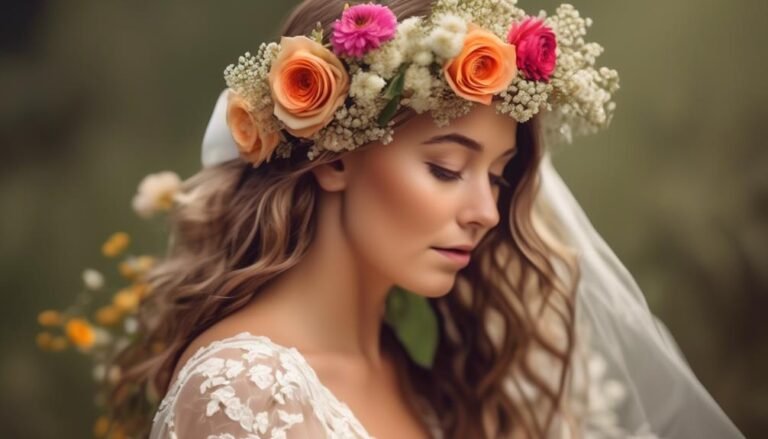
- Experiment with colors and flowers: Don't be afraid to mix and match different colors and flowers to create a pop of contrast in your flower crown. Strive for a balance between different textures and sizes to create a visually stunning piece.
- Add greenery: If you want to include greenery in your flower crown, you can simply tuck it in between the flowers or use floral glue to secure it in place.
Remember to have fun and get creative with your flower crown. With these tips, you'll be able to prepare the flower stems effectively and create a beautiful accessory for any occasion.
Wiring the Flowers Together

Creating a DIY flower crown is a fun and creative project. To wire the flowers together, you'll need to follow a few simple steps.
- Start by using moss-covered florist wire as the base for your flower crown. Cut 25 to 30 inches of wire to ensure a sturdy foundation.
- Prepare your flowers and greenery by cutting the stems and removing any excess leaves. This will make it easier to wire them to the base.
- Now it's time to layer the flowers and greenery. Take the cut stems and wrap them together with floral tape. This will create a seamless look and hold everything in place.
- Don't be afraid to get creative with your flower placement and color choices. Experiment with different combinations to achieve a natural and eye-catching result.
- If you want to reduce bulk and add a polished finish, consider using floral wire instead of tape for the final pieces. This will help fill any gaps and give your flower crown a more refined look.
- To secure any loose flowers, you can use floral glue for added security. This will ensure that your flower crown stays intact throughout the day.
Creating the Base of the Flower Crown
To create the base of your flower crown, start by shaping rustic wire into a circle that fits comfortably on your head. This will serve as the foundation for your crown. Once you have the circle, wrap more rustic wire over it to create a rigid base. This ensures that your flower crown stays in place throughout the day, even during active celebrations.
When shaping the base, consider your chosen wedding hairstyle. You want the crown to sit exactly where you want it to, so try it on with your hair styled the way it will be on the big day. This allows you to make any necessary adjustments for the desired look.
To secure the wire and make it comfortable to wear, use florist tape to wrap around the base. This provides a soft surface against your head and prevents the wire from snagging on your hair or clothing.
With the base in place, it's time to add the flowers and greenery. But before you begin, take a moment to admire your work. The base is like a canvas, ready to be transformed into a beautiful floral masterpiece. Enjoy the creative process of making your own unique flower crown.
Adding the Finishing Touches

Now that you're ready to add the final touches to your flower crown, it's time to let your creativity shine. This is where your vision comes to life as you carefully arrange the flowers and greenery to achieve the perfect look.
To create a balanced and cohesive crown, wire the wax flowers and greenery in the opposite direction to create symmetry. This will give your crown a polished and professional finish. If you notice any gaps in the crown, don't worry! Simply use floral glue to secure additional flowers and tuck them in to fill the spaces.
When it comes to securing your flower crown, it's best to use wire instead of tape to reduce bulk and ensure a secure hold. Carefully wrap the wire around the stems of your flowers and greenery, making sure everything is secure and in place. Allow the glue to dry for about an hour before wearing the crown to ensure it stays in place throughout your special day.


