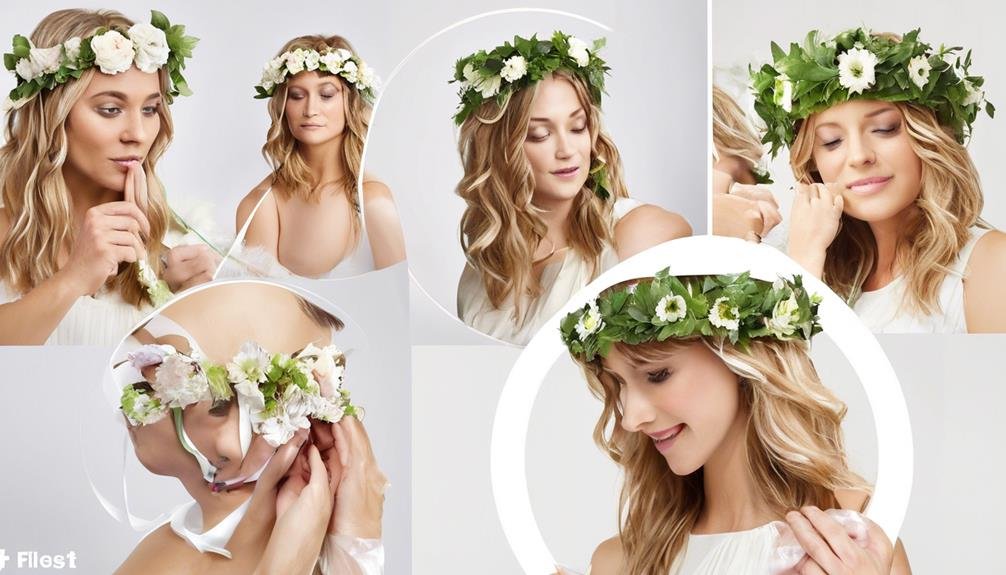
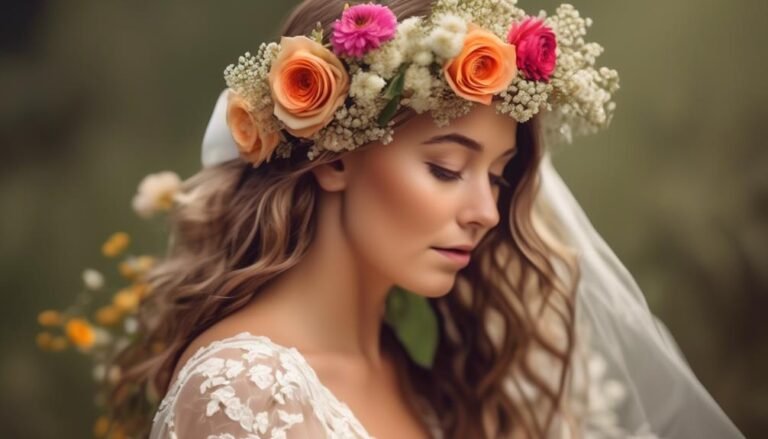
Easy DIY Flower Crown Tips for Weddings
Creating your own flower crown for your wedding day is a wonderful way to add a touch of natural beauty to your ensemble. In this article, we will provide you with easy DIY flower crown tips that will help you create a stunning and personalized accessory that perfectly complements your bridal style.
- Choose Your Flowers:
The first step in creating your flower crown is to choose the flowers you want to use. Opt for flowers that match your wedding theme and color palette. Popular choices include roses, baby's breath, daisies, and peonies. Consider the size, shape, and color of the flowers to ensure they will work well together in your crown.
- Gather Your Materials:
To make your flower crown, you will need a few essential materials. These include floral wire, floral tape, wire cutters, and ribbon or elastic for securing the crown. You may also want to have some additional decorative elements on hand, such as pearls, beads, or foliage, to add some extra flair to your crown.
- Prepare Your Flowers:
Before you start assembling your flower crown, it's important to prepare your flowers properly. Trim the stems of your flowers to a length of about 2-3 inches. Remove any excess foliage or thorns that may be on the stems. Fill a container with water and place your flowers in it to keep them fresh and hydrated while you work.
- Create the Base:
To create the base of your flower crown, measure the circumference of your head using the floral wire. Cut the wire to size and shape it into a circle, securing the ends together. Use floral tape to wrap the wire, creating a smooth and sturdy base for your crown.
- Attach the Flowers:
Now it's time to start attaching your flowers to the crown. Begin by selecting a flower and using floral tape to secure it to the wire base. Repeat this process, adding flowers one by one, until you have covered the entire crown. It's best to work in small sections, focusing on one area at a time, to ensure a balanced and visually appealing design.
- Add Extra Decorations:
If you want to add some extra decorations to your flower crown, now is the time to do so. Use floral tape to attach any pearls, beads, or foliage to the crown, interspersing them among the flowers for a cohesive look. Be mindful not to overcrowd the crown, as you want the flowers to be the main focal point.
- Secure and Finish:
Once you have finished attaching all the flowers and decorations, it's time to secure your flower crown. Use ribbon or elastic to tie the ends of the wire together, creating a comfortable and adjustable fit. Trim any excess wire or tape, and make sure all the flowers and decorations are securely attached.
By following these easy DIY flower crown tips, you can create a unique and enchanting accessory for your wedding day. Let your imagination bloom and unleash your inner floral artist as you craft a stunning flower crown that reflects your personal style.
Choosing the Right Flowers
When choosing flowers for your DIY flower crown, it's important to consider their size and type to achieve the desired aesthetic for your wedding. The flowers you choose will be the focal point of your floral headpiece, so they should complement your overall wedding theme and color palette.
To ensure that your flower crown looks fresh and vibrant throughout the day, opt for flowers that will hold up well without wilting or browning. It's also recommended to select a variety of flowers with different shapes and sizes to create a visually appealing crown. Adding greenery such as eucalyptus or ferns can add texture and a touch of natural elegance to your crown.
Incorporating meaningful flowers into your flower crown can add an extra layer of sentimentality to your wedding day. Choose blooms that hold symbolism for you and your partner, such as roses for love, daisies for innocence, or lavender for devotion.
When assembling your flower crown, use floral tape to secure the stems and ensure that it stays intact throughout the day. This DIY project allows you to personalize your flower crown and create a unique piece that reflects your style and personality.
Preparing the Flower Stems
Before assembling your DIY flower crown, it's important to prepare the flower stems. Start by removing any leaves below the blooms to reduce bulk and give your crown a neater look. You can use scissors or garden shears to cut the stems to the desired length.
Make sure you have pre-cut floral tape and wire ready for the assembly process. Cut them into manageable lengths to make them easier to work with. Floral tape will be used to wrap the stems together, ensuring that the flowers and greenery stay in place.
When adding flowers and greenery to your crown, start by layering several stems of wax flowers. Keep the stems short to make them easier to attach. For other flowers like roses or daisies, trim the stems, leaving about three inches of length. This will provide enough stem to securely attach them to the crown.
If you find that some flowers or greenery aren't staying in place, you can use floral glue to secure them. Apply a small amount of glue to the stem and press it firmly onto the crown.
Remember to be careful when handling the flower stems to avoid damaging them. By preparing the stems properly, you'll ensure that your flower crown looks beautiful and stays intact.
Constructing the Base of the Crown

Creating the Base of Your Flower Crown
To start making your DIY flower crown, you'll need to shape a rustic wire into a circle that fits comfortably on your head. This is an important step to ensure that your crown stays secure and feels comfortable to wear. Here are some tips to help you create the perfect base for your flower crown:
- Strengthen the wire: Once you've shaped the wire into a circle, wrap additional wire around it to create a more sturdy base. This will provide stability and support for the flowers you'll be adding later on.
- Consider your hairstyle: Before moving forward, think about how you'll be wearing your hair on your wedding day. Place the crown on your head and make any necessary adjustments to ensure that it sits in the desired position. You want it to complement your hairstyle and enhance your overall look.
- Trim any excess wire: If you find that there's excess wire sticking out, use wire cutters to trim it to the desired length. This will help prevent any discomfort or poking sensations when you wear the crown.
Now that you have the base of your flower crown ready, it's time to move on to the next step: attaching the flowers. You can use floral wire or tape to attach the flowers and greenery to the crown. Start at one end and work your way around, adding flowers as you go. Be creative and let your personal style shine through. Remember, your flower crown should reflect your unique personality and make you feel like a stunning bride on your special day.
Attaching the Flowers to the Crown
Creating a beautiful flower crown is a fun and creative activity that allows you to showcase your personal style. Once you have the sturdy base of your flower crown in place, it's time to bring it to life by attaching the vibrant and fragrant flowers.
To ensure that the flowers stay securely in place, it's recommended to use floral tape to wrap around the stems and the crown base. This provides added support and stability while creating a seamless look. Additionally, using floral adhesive for smaller filler flowers can help fill in any empty spaces and create a fuller and more lush appearance. It's important to allow the adhesive to become tacky before placing the flowers to ensure they stay in place.
If you're not planning to wear your flower crown immediately, it's a good idea to refrigerate it to maintain its freshness. However, be mindful of storing it away from fruits and vegetables, as the ethylene gas produced by these items can cause the flowers to wilt more quickly.
To add visual interest and contrast to your flower crown, don't be afraid to experiment with different flower colors and varieties. Mixing and matching different types of flowers and greenery can create a unique and eye-catching look.
If there are any gaps in your flower crown, you can use floral glue to fill them in with additional flowers. Allow the glue to dry for an hour before wearing the crown to ensure everything stays in place.
Now that you know how to attach the flowers to your crown, it's time to let your creativity bloom and enjoy your beautiful DIY flower crown.
Adding Final Touches and Adjustments

Once you have attached the flowers to your DIY flower crown, it's time to make some final adjustments to ensure it looks perfect for your special day.
Here are a few tips to help you add those finishing touches:
- Ensure a comfortable fit: Take a moment to adjust the wire base of your flower crown. Gently bend it to fit snugly around your head, making sure it feels secure and comfortable.
- Test the fit: Once you've adjusted the wire base, try on the flower crown to see if it sits in the desired position. Play around with the placement, moving it slightly forward or backward until it looks just right with your chosen hairstyle.
- Check for symmetry and balance: Step back and assess your flower crown. Make sure the flowers are evenly distributed and that there's a balance of colors and textures. If needed, add extra flowers or greenery to fill in any gaps and create a harmonious look.


