Affordable Step-by-Step Guide to DIY Floral Arches
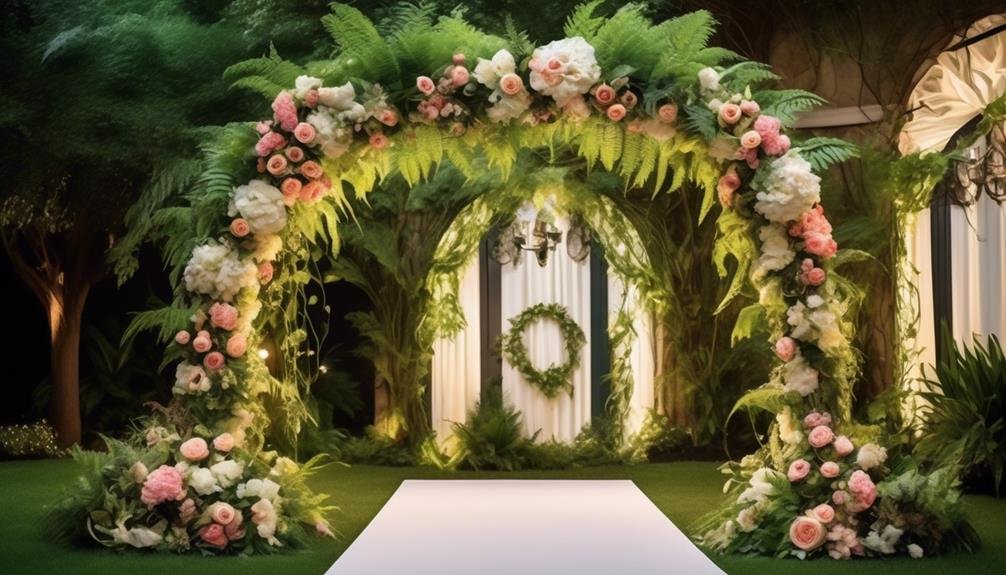
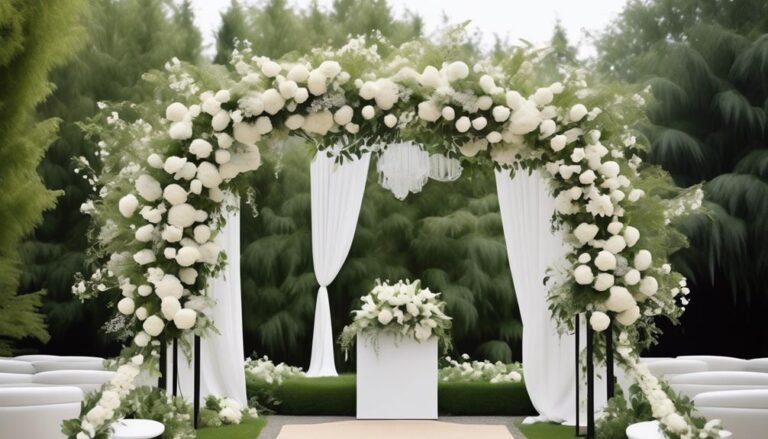
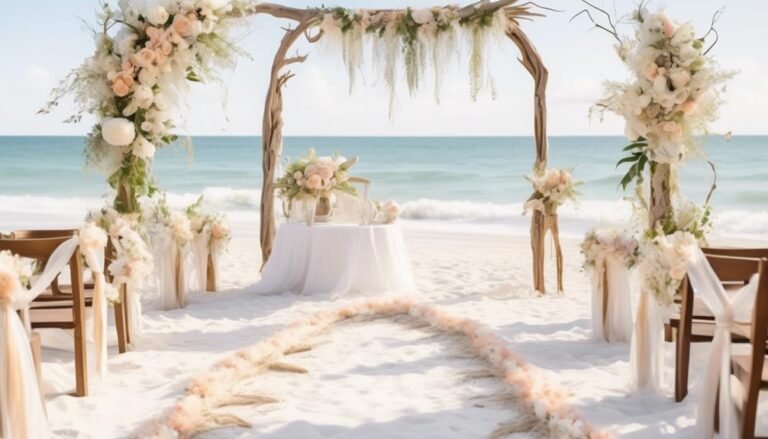
Creating a DIY floral arch doesn't have to be complicated or expensive. In this step-by-step guide, we'll show you how to create a stunning floral arch without breaking the bank.
- Gather the necessary supplies: To start, you'll need a few basic supplies. These include a sturdy arch frame, floral foam or chicken wire, floral tape, and a variety of fresh or artificial flowers. You can find these supplies at your local craft store or online.
- Choose your flowers: The next step is to select the flowers you want to use for your arch. Consider the theme and colors of your event when making your choices. You can opt for a monochromatic look or mix different types of flowers for a more eclectic vibe. Don't forget to pick some greenery or foliage to add texture and depth to your arrangement.
- Prepare the arch frame: Start by attaching the floral foam or chicken wire to the arch frame. This will provide a stable base for your flowers. Make sure it's securely attached and won't move or wobble once the flowers are added.
- Create your flower arrangements: Now it's time to start arranging your flowers. Begin by inserting the greenery or foliage into the foam or chicken wire. This will act as a foundation for the rest of your flowers. Then, add your larger blooms, followed by smaller flowers to fill in any gaps. Use floral tape to secure the stems and keep everything in place.
- Add the finishing touches: Once your flowers are arranged, step back and take a look at your arch. Make any necessary adjustments to ensure it looks balanced and visually appealing. Consider adding some additional elements such as ribbons, bows, or hanging decorations to enhance the overall look.
- Set up your arch: Finally, find a suitable location to set up your floral arch. Whether it's for a wedding ceremony, a photo backdrop, or a special event, make sure the arch is placed in a prominent position where it can be easily seen and admired.
By following these steps, you can create a beautiful DIY floral arch that adds a touch of elegance and charm to any occasion. Remember to be creative and have fun with your design. With a little bit of effort and imagination, you can transform any event into a magical experience.
Gathering the Necessary Supplies
To create your stunning DIY floral arch, you'll need a few essential supplies. Here's a list of what you'll need:
- Flower Box Sets: Gather 8 Lings moment flower box sets. These sets come with a wide variety of beautiful flowers that will add color and vibrancy to your floral arch.
- Greenery Branch Sets: You'll also need 10 Lings moment greenery branch sets. These sets provide different types of greenery that will help create a lush and natural look for your arch.
- Arch Pillars and Wire Mesh: Obtain 2 arch pillars to serve as the foundation for your floral arch. You'll also need wire mesh or chicken wire to secure the flowers and greenery in place.
- Flower Muds: Don't forget to get flower muds for the base and to cover the arch pillar. Flower muds will keep your flowers hydrated and securely in place throughout your event.
- Floral Foam Cages, Floral Snips, and Zip Ties: These tools are essential for creating a sturdy structure for your flowers and greenery. Use floral foam cages, floral snips, and zip ties to secure the floral arrangements.
- Specific Flowers and Greenery: Gather the specific flowers and greenery mentioned in the tutorial. These will be the main elements of your floral arch. Consider adding optional materials like sola flowers and faux flowers to add texture and depth.
By gathering these supplies, you'll have everything you need to create a beautiful and eye-catching DIY floral arch. Follow the tutorial for step-by-step instructions on how to assemble and arrange your flowers and greenery.
Enjoy the process and have fun creating your stunning floral masterpiece!
Preparing the Base for the Floral Arch
Preparing the base for a floral arch is an important step in creating a sturdy and visually appealing structure. By using flower muds, you can ensure stability and a tapered look for your DIY floral arch. This foundation will set the stage for the rest of your floral arrangement and provide the necessary support for your arch to stand tall during the wedding ceremony.
To start, gather various types of greenery to create a lush and dynamic base. Begin at the bottom and work your way up, making the base fuller as you go to add depth and variety. Insert the longest branches of greenery near the base and adjust the stems to face the flowers at different angles. This will give your arch a natural and organic feel.
As you insert the flowers into the gaps on the base, make sure to add more leaves to conceal any exposed floral mud or wire. This will give your arch a polished and professional look. Don't be afraid to experiment with different flower placements to achieve the desired effect.
Once the base is complete, step back and admire your work. Your DIY floral arch is now ready to take center stage at your wedding ceremony. Remember, after the event, you can repurpose the flowers and greenery for home decor or other special occasions.
Adding Greenery and Foliage to the Arch

Adding greenery and foliage to your DIY floral arch can create a lush and vibrant look. Here are some tips on how to achieve this:
- Shape the arch with a base greenery frame: Start by creating a sturdy foundation for your arrangement using a base greenery frame. This will help to give shape and structure to your arch.
- Incorporate smaller greenery pieces: To add consistency throughout the base, incorporate smaller pieces or individually stemmed leaves. This will help to create a cohesive and textured look. Consider using greenery options like lambs ear, spring green mix, and cream/pink berry pieces for their beautiful textures and colors.
- Consider adding faux flowers: In addition to natural greenery, you can also add faux flowers for added color and texture. Sola flowers in cream, pink, and purple can be a great choice. They're lightweight and easy to work with, making them perfect for DIY projects.
- Secure the greenery together: To ensure that your arch stays in place throughout your event, use zip ties to secure the greenery together before attaching it to a wall or post. This will provide added stability.
Arranging and Incorporating Flowers
Arranging and incorporating flowers is the exciting final step in creating a stunning DIY floral arch. This is where you can let your creativity shine and bring your vision to life. To guide you through the process, here are the steps to follow:
- Create a stable base: Start by using flower muds to create a stable base for the arch pillar. This will ensure that your arrangement stays secure and in place.
- Layer greenery: Add greenery leaves to the bottom of the arch, layering them to create a fuller look and add depth to your arrangement. This will provide a beautiful backdrop for the flowers.
- Add flowers: Now it's time to incorporate the flowers. Place them in the gaps between the greenery, creating a harmonious blend. Consider using a variety of flowers for different colors and textures.
- Use multiple types of greenery: To add even more depth and variety to your floral arch, use multiple types of greenery. You can create clusters of greenery or spread them evenly throughout the arch. This will give your arrangement a unique and eye-catching look.
As you arrange the flowers and greenery, don't be afraid to get creative. Adjust the stems to face flowers at different angles, and consider adding ribbons or bows for an extra touch of elegance. Let your imagination guide the final design.
Final Touches and Finishing the Floral Arch

To complete your DIY floral arch, it's important to add the final touches and ensure its beauty and longevity. Here are some steps to consider:
- Assess the overall look: Before adding any final touches, take a step back and assess the floral arch. Make sure the flowers are evenly distributed and there are no bare spots. This will help identify any areas that need additional flowers or adjustments.
- Floral accents: Enhance the beauty of your arch by incorporating additional floral accents. Use smaller blooms like baby's breath or greenery to fill in any gaps and create a fuller appearance. Get creative and experiment with different combinations of flowers and foliage.
- Secure the arrangement: Once you're satisfied with the placement of your flowers, take the time to secure them properly. Use floral wire or zip ties to ensure the blooms stay in place throughout your event. This will prevent any accidental mishaps and keep your floral arch intact.


